

Undead Settlement is a Location in Dark Souls 3. After receiving the Small Lothric Banner from Emma, the player approaches a cliff and is grabbed and transported by flying gargoyles to the base of the High Wall of Lothric. The decaying ruins are crowded with hordes of undead, but there's also treasure to be found...

General Information
- Previous: High Wall of Lothric
- Next: Road of Sacrifices
- Recommended Levels: 22-35
- Bosses: Curse-rotted Greatwood
- Bonfires: Foot of the High Wall, Undead Settlement, Dilapidated Bridge, Cliff Underside, Pit of Hollows
Undead Settlement Map


NPCs in the area
- Yoel of Londor
- Cornyx of the Great Swamp
- Siegward of Catarina
- Irina of Carim
- Eygon of Carim
- Velka the Goddess of Sin
- Holy Knight Hodrick
- Mound-Maker Covenant
- Warrior of Sunlight Covenant
- Hollow Manservant with Cage. Transports player to Mound-Maker Covenant.
- Giant Slave
Bosses
Items
Consumables
- 4x Charcoal Pine Bundle
- 2x Charcoal Pine Resin
- 5x Ember
- 2x Fading Soul
- 8x Homeward Bone
- 4x Human Pine Resin
- 6x Large Soul of a Deserted Corpse
- 2x Red Bug Pellet
- 2x Repair Powder
- 1x Rusted Coin
- 1x Siegbrau (Upon helping Siegward of Catarina kill the Fire Demon)
- 1x Soul of a Nameless Soldier
- 4x Soul of an Unknown Traveler
- 4x Young White Branch
Projectiles
- 7x Alluring Skull
- 6x Firebomb
- 9x Kukri
Weapons & Spells
- Caestus
- Great Scythe
- Hand Axe
- Irithyll Straight Sword
- Large Club
- Partizan
- Red Hilted Halberd
- Reinforced Club
- Saint's Talisman
- Whip
Armor & Shields
- Small Leather Shield
- Caduceus Round Shield
- Plank Shield
- Blue Wooden Shield
- Wargod Wooden Shield
- Red and White Shield
- Cleric Set
- Loincloth
- Northern Set
- Mirrah Set
Upgrade Materials
- 1x Estus Shard
- 6x Titanite Shard
- Transposing Kiln (Upon killing Curse-rotted Greatwood)
- 1x Undead Bone Shard
Multiplayer Item
- 1x Pale Tongue
Enemy Drops
* represents rare drops
- Worker Set (Peasant Hollows)
- Four-Pronged Plow (Peasant Hollows)
- Great Wooden Hammer (Peasant Hollows)
- Harpe (Red-Eyed Peasant Hollows)*
- Firebombs (Peasant Hollows)
- Rubbish (Peasant Hollows)
- Charcoal Pine Resin (Peasant Hollows)
- Thrall Hood (Hollow Slaves)
- Thrall Axe (Hollow Slaves)
- Flamberge (Hollow Slaves)*
- Titanite Shard (Hollow Slaves, Cathedral Evangelists, Root Skeletons)
- Fading Soul (Cage Spider)
- Evangelist Set (Cathedral Evangelists)
- Spiked Mace (Cathedral Evangelists)
- Blessed Gem (Cathedral Evangelists)
- Great Machete (Hollow Manservants)
- Soul of a Deserted Corpse (Hound-Rats)
- Bloodbite Ring (Large Hound-Rat)
- Falchion (Minor Skeletons)
- Scimitar (Minor Skeletons)
- Fire Gem (Fire Demon)
- Irithyll Straight Sword (Boreal Outrider Knight)
- Sharp Gem (Crystal Lizard)
- Heavy Gem (Crystal Lizard)
- Vertebrae Shackle (Holy Knight Hodrick)
Keys & Other
- Loretta's Bone
- Warrior of Sunlight
- Mortician's Ashes
- Flynn's Ring
- Flame Stoneplate Ring
- Chloranthy Ring
- Hawk Ring
- Fire Clutch Ring
- Bloodbite Ring
- Life Ring +1 (NG+)
- Poisonbite Ring +1 (NG+)
- Silver Serpent Ring +2 (NG++)
Enemies
- Hollow
- Starved Hound
- Peasant Hollow
- Hollow Slave
- Cage Spider
- Cathedral Evangelist
- Hollow Manservant
- Hound-rat
- Large Hound-rat
- Skeleton
- Fire Demon
- Boreal Outrider Knight
- 2x Crystal Lizard
- Holy Knight Hodrick (Invasion)
Notes
- ??
Full Undead Settlement Walkthrough
Click here to go to the Speedrun Walkthrough. Click here for Lore and Speculation on this area.
The Gargoyles will drop you off at the top of a tower, where the Foot of the High Wall Bonfire is waiting to be lit. Take the stairs down to the first landing, and follow along the ramparts to the left to another broken tower to find a corpse with a Large Soul of a Deserted Corpse. Continue down the stairs, the group of hollows wandering about the stone roadway are non-hostile. To your direct front, a waiting enemy will raise the portcullis and loose a pack of undead hounds to ravage you and the hollows. The gate will lower after the hounds come through, but a nearby lever will raise it. With the portcullis at your back, proceed down the stone roadway towards the archway, you will find dogs behind an overturned coach chewing on a corpse. Kill them and loot the Alluring Skull 2x.
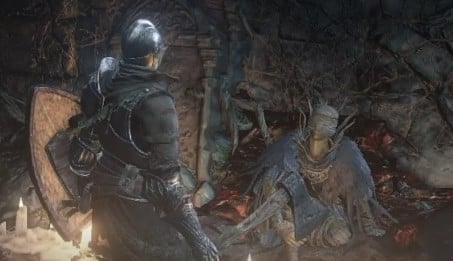
You Only Live Once
Continue towards the group of pilgrims gathered at the end of a broken street, petrified in a dead prayer in the direction of the High Wall of Lothric. One of them is still alive, and you can overhear his pleas for death. He is Yoel of Londor, and speaking to him will result in him offering his services to you. Upon accepting, he will disappear and can be found at Firelink Shrine. He performs merchant services as well as providing the player with the means for the Hollowing mechanic. At the end of the broken road, you can loot Homeward Bone 2x.

Making Your Way Into The Settlement
Return to the closed gate and pull the lever to open it. Deal with the enemy that released the dogs on you. In a small hut on the right, light the Undead Settlement Bonfire. From the small balcony behind the hut holding the Undead Settlement Bonfire, you can observe, far in the distance, a Giant atop a tall tower firing a Great Bow onto the valley below. He is reachable later in the level.
Go straight and towards a ramshackle house, where you will encounter two hat-wearing hollows with pitchforks. Head into the house where you will see several hanging bodies. Cut the glowing one down to loot a Small Leather Shield. Continue ahead being mindful of the hollow here, and descend the stairs to the lower level. To the right before the opening in the wall, loot the corpse here for Charcoal Pine Bundle 2x. Step on to the balcony outside and cut down the hanging corpse sack. You may loot it later for Loretta's Bone. Around the corner, there is a pitchfork hollow and behind it a corpse with Repair Powder 2x.
Return inside and descend the stairs to the next floor where you will find a short pointed hat wearing hollow. There is a corpse near with Charcoal Pine Bundle 2x. Another 2 short hollows are nearby and may attack while you loot the corpse. Step down into the room of barrels and head outside. To your left will be a corpse you cut down earlier with Loretta's Bone 1x, which you can give to Greirat. A gang of hollow enemies stands beyond. It is advisable to lure these one at a time, being careful with the larger caster. Once the enemies are cleared, loot the corpse in front of the blazing fire for an Estus Shard 1x. There is another corpse behind the fire you can loot for an Ember 1x.
To the right of the bonfire near where you exited the building you can cross a wooden bridge to another settlement. Enter the house to take on 2 hollows near the entrance. Another 2 pitchfork hollows will rise from the stalls here. On the left side of the room, you will find a Large Soul of a Deserted Corpse.
Continue on to the next building where a thrall will drop from the ceiling and attack. Open the double doors. You can backtrack to where you first crossed the bridge and take a path to the right of the first building you went through. Down this path, you will encounter several thralls on the path (be wary of ambushes) as well as some firing projectiles at you from the rooftops. Here, you will find a corpse with a Fading Soul. There is a ladder near you can take up to a rooftop to dispatch the thralls. On the other side of this roof, you can loot a corpse for Homeward Bone 2x. You can traverse the rooftops here, eventually dropping down to the ground where you can find a Caduceus Round Shield in a corner along the cliff, near the double doors you opened. Near these houses, you can also find a caged hollows NPC. You can loot a corpse near him for a Plank Shield.
On the right side of the rooftops, you can drop down onto a ledge where a large red-cloaked hollow with a cage on his back patrols. He's non-hostile so long as you have NOT reached the Curse-Rotted Greatwood boss's second phase. Approach him from the back and you will have the option to teleport to the Mound Makers Covenant area. This is the area you will fall into during a later boss fight. During the fight, you will inadvertently kill the NPC which gives you the covenant. If you don't take the covenant now, you will have to wait until you've beaten three Lords of Cinder to gain the covenant.
Also in the area where the hollow with the cage patrols, there will be a body hanging from a tree with the Flame Stoneplate Ring. Striking it will send it plummeting into the ravine below, near the area where Eygon is waiting.
Freeing Cornyx of the Great Swamp
Past the now opened double doors, you will cross a stone bridge. If you drop down to the right onto a ledge, you will encounter 2 pitchfork hollows and a corpse at the dead end with a Titanite Shard 1x. Continue along the ledge and into an arched entrance to a room where you can find a bonfire. Exit through the opening and go right up the stairs, up the roof. If you look up you will see a hanging corpse which you can shoot down to obtain a Partizan. Continue up and around the stairs where you will find 2 more hollows and a third on a short ledge. On this balcony area, you will find a corpse with a Hand Axe. There is a cage here, where you will find Cornyx of the Great Swamp. Speak with him and now freed, he will teleport to Firelink Shrine to teach you Pyromancies.
If you go back to the broken portion of this balcony, you can drop down to the roof below and then to the ground. On a wooden torture platform here you can find a Soul of an Unknown Traveler. Behind this platform is a half-broken wooden bridge, where at the end is a corpse holding a Fire Clutch Ring. Be wary of a basket wielding large hollow walking through here. Head through the archway from where the hollow came to find some mindless hollows sitting around in distress. Around a corner to the left, you can find a corpse with a Large Soul of a Deserted Corpse and a short gremlin hollow. Continuing forward you will come to a large stone staircase with a mallet wielding hollow, pitchfork hollow and some undead dogs. The large double doors at the top of the stairs cannot be opened from this side.
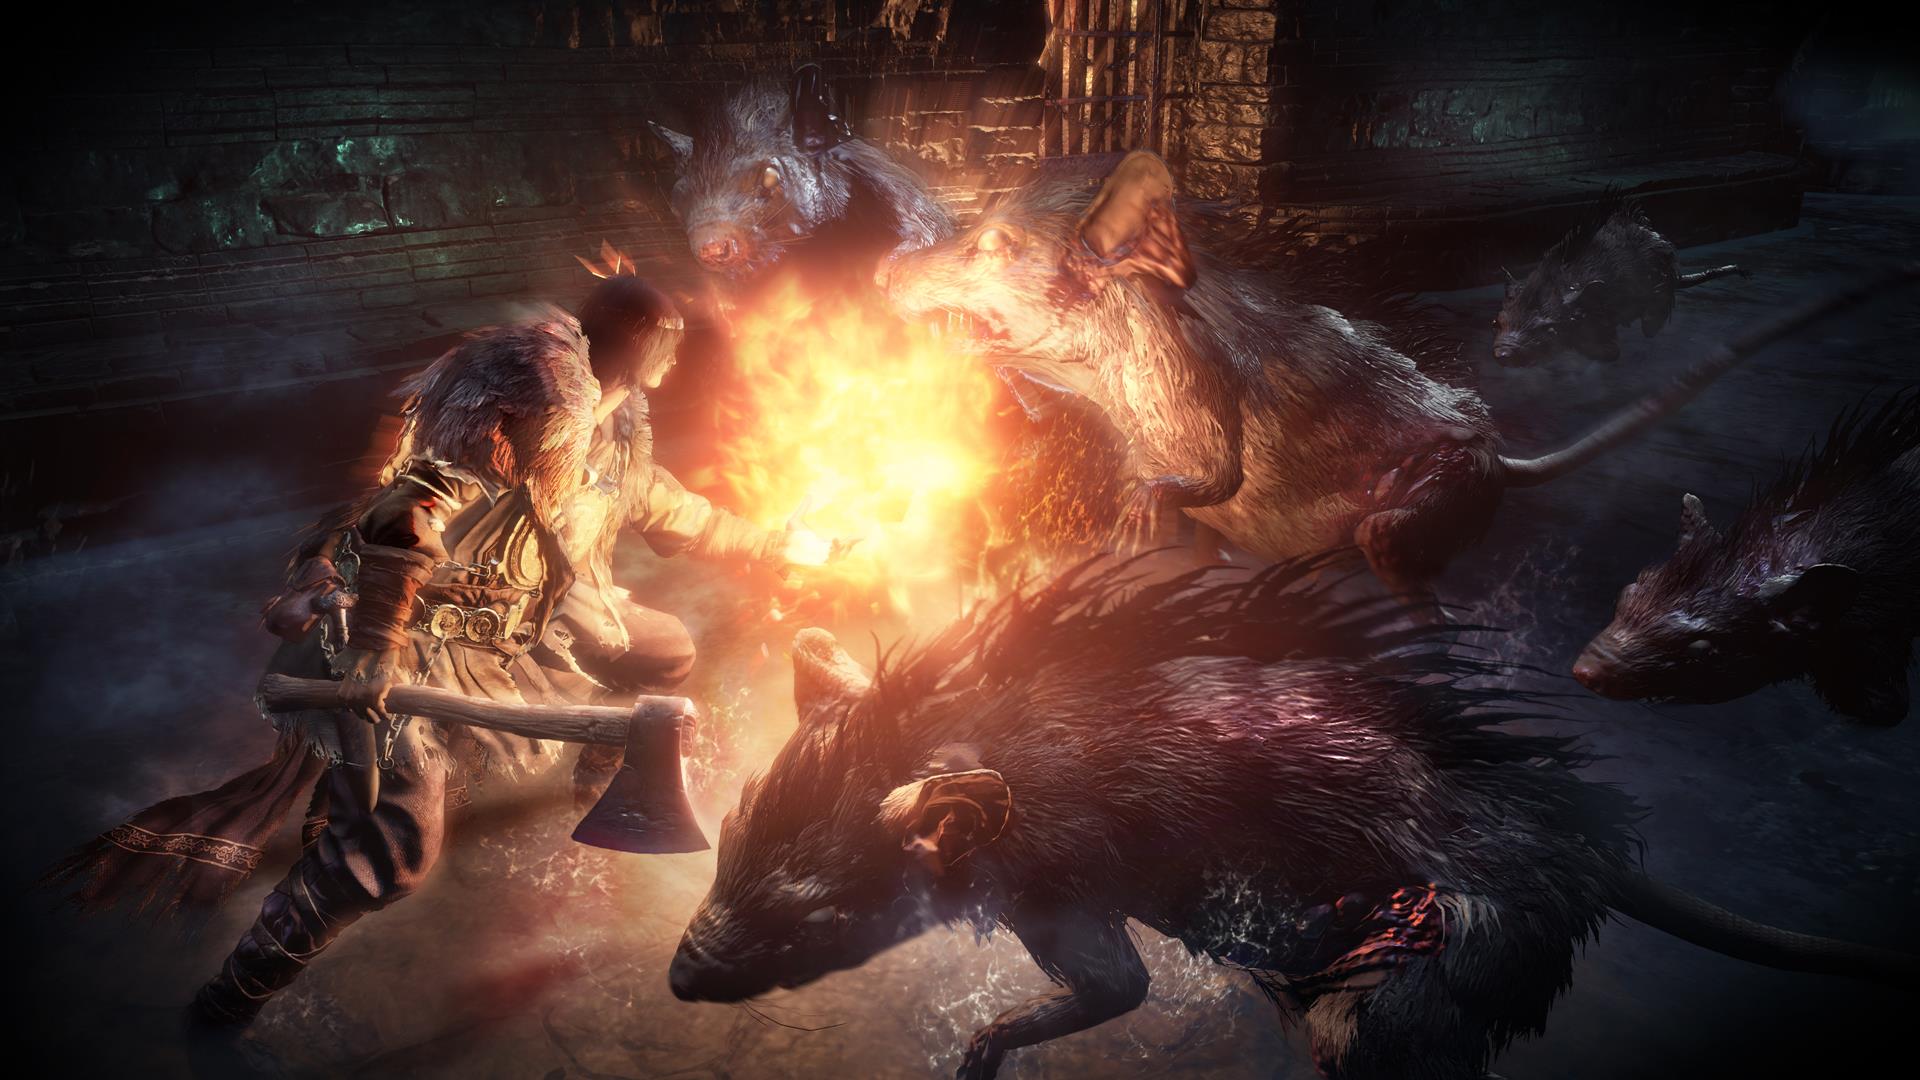
Getting to Irina of Carim
Turn around and head straight back. There will be a dog on your left, guarding an Ember; keep going until you come to an opening into sewers on your right. An undead dog will be just inside the entrance on your left. Take the ladder down and head left into the sewers where you will encounter some rats, the big rat will drop the Bloodbite Ring. There is a corpse in this sewer hallway with a Caestus. On the left, a locked door can be opened by purchasing the Grave Key from the Shrine Handmaid. It will lead to Irina of Carim. If you have the key, head through the door, and make a right to the end of the hallway to find a Loincloth and a statue of Velka the Goddess of Sin to whom you can request absolution from sin.
Go opposite the hall and to the left you can find a Red Hilted Halberd to the left. At the end of the hall, make a left through the doorway to a room where skeletons will animate and attack. There is a corpse here with a Soul of an Unknown Traveler. Continue to the next room to find more skeletons and exit the doorway where you will see a Crystal Lizard to your right. Beyond to the right, you can loot a Titanite Shard 2x. Be careful as hollow enemies will drop down as you loot these. Go back to where you exited and continue down the path. Look up and shoot down the corpse to get a Blessed Red and White Shield +1 which is pre-infused with Blessing. On the left, you can enter a room with rats and a corpse with a Saint's Talisman. Climb the ladder here and go up the stairs. To the left, you will find Irina. Speak with her several times until she agrees to join you and returns to Firelink Shrine. Open the grated door to exit where you will encounter Eygon, be sure to speak with him as he will join your cause as long as Irina of Carim is safe. If you head to the large double doors and enter them into the building where you will find a lift and meet Siegward of Catarina.
The Sewers and Siegward of Catarina
If you did not obtain the Grave Key yet, continue down the sewer where a large rat and a few smaller rats will attack you through the mist. Defeat them and reach the ladder and ascend. Open the door here to unlock a shortcut to the wooden bridge that leads to a bonfire.
Back at the original entrance to the sewers take the stone bridge guarded by pot wielding enemies up to the church entrance. There is an NPC named Eygon of Carim that warns you of the champion. Open the church gates and meet Siegward of Catarina. Activate the lift, but don't ride it, a second lift will appear. Take this one to the top of the tower. Here you find the giant that shoots at you by the white birch. If you become his friend, he will help you and only shoot at the enemies when you are down by the white birch. If you kill him, he drops the Hawk Ring.
While taking the lift down again you can hear Siegward on the way down. When you hear him, jump off the lift and find him sitting outside on the ledge of a balcony, just to the right in one of the window alcoves before Siegward, is the Life ring +1 (on NG+). Below you can spot a Fire Demon. Talk to Siegward and he will fight by your side when you face the demon. Afterward he'll give you a Siegbrau and give you the gestures Toast and Sleep. In the open area you can find Red Bug Pellet x2 and the Large Club. Two hanging corpses hanging near a low roof on the left side of the open structures contain the Northern Set and a Pale Tongue. You can explore the structures in the area to encounter some caged hollows near a corpse containing Alluring Skull x2, dogs and a chest with Human Pine Resin x4. Looting this chest will trigger a group of caged hollows to appear. There are two Evangelists on the upper level of this structure, if you exit outside here and take the stairs to the roof you can find a corpse with Flynn's Ring. Drop down on the wooden scaffolding near the back of the roof and then drop onto the balcony of the tower to receive Homeward Bone x2.
Enter the tower and drop down to the bottom floor to obtain a Chloranthy Ring and the Mirrah Set. This drop will likely kill you. Don't try jumping. Roll off the wooden ledge to your left towards the ledge lower down and at the opposite side of the tower.
Leave the tower's bottom floor and then drop down from the ledge to return to the courtyard near The Curse-Rotted Greatwood.
Back where you met Siegward, take the lower lift to a Knight of The Boreal Valley, kill him for an Irithyll Straight Sword, open the door to the Road of Sacrifices, where a bonfire is located. The knight can be easily killed using the lift you took to get down. Before engaging the knight, send the lift back up, but do not ride it. Lure the knight through the two rooms back to the lift and position the hole between you and the knight. He should try to attack you and then fall to his death. The Irithyll Straight Sword will be automatically added to your inventory.
Warriors of Sunlight
Return to where you took on the mob of enemies by the blazing fire. If you head down from here to the lower level you will encounter several worker hollows. At the base of a wall, you will find a corpse with a Titanite Shard 1x. Head through a large archway, and open the door into a dwelling. To your right, there is a corpse along the wall, with a Caged Limbs enemy to its right. Kill the caged enemy and loot the corpse for Charcoal Pine Resin 2x. If you drop down a hole in the floor near here you will land in a room where you will find the Warrior of Sunlight Covenant item. There is also a cauldron here where you can consume some Estus Soup.
Exit the door here and on your left will be a staircase and straight will be a hallway with caged limbs, the first one on the right being hostile. Midway through this hallway, 2 of the short hollows will drop down from the ceiling to attack you. There is a red-eye sickle hollow here as well. If you continue down the hallway you will encounter 2 more caged limbs. Continue down the hallway and outside to find 2 pitchfork worker hollows. To the right, before these hollows is an alley of breakable crates which leads to a dead-end cliff & a body holding a Soul of an Unknown Traveler. Just past the above-mentioned hollows, a caster standing on a narrow bridge above the path will cast spells at you. To the right of this overhanging bridge is a hollow with a mallet. To the left, another hollow with a machete will engage you. On the left, you can enter an open dwelling with a short, hatchet-wielding hollow and loot a corpse for a Whip. Continue up the path and go up a short flight of stairs on your left where you can take a ladder up to the bridge to deal with the caster. Up here you can loot a corpse for a Titanite Shard 1x.
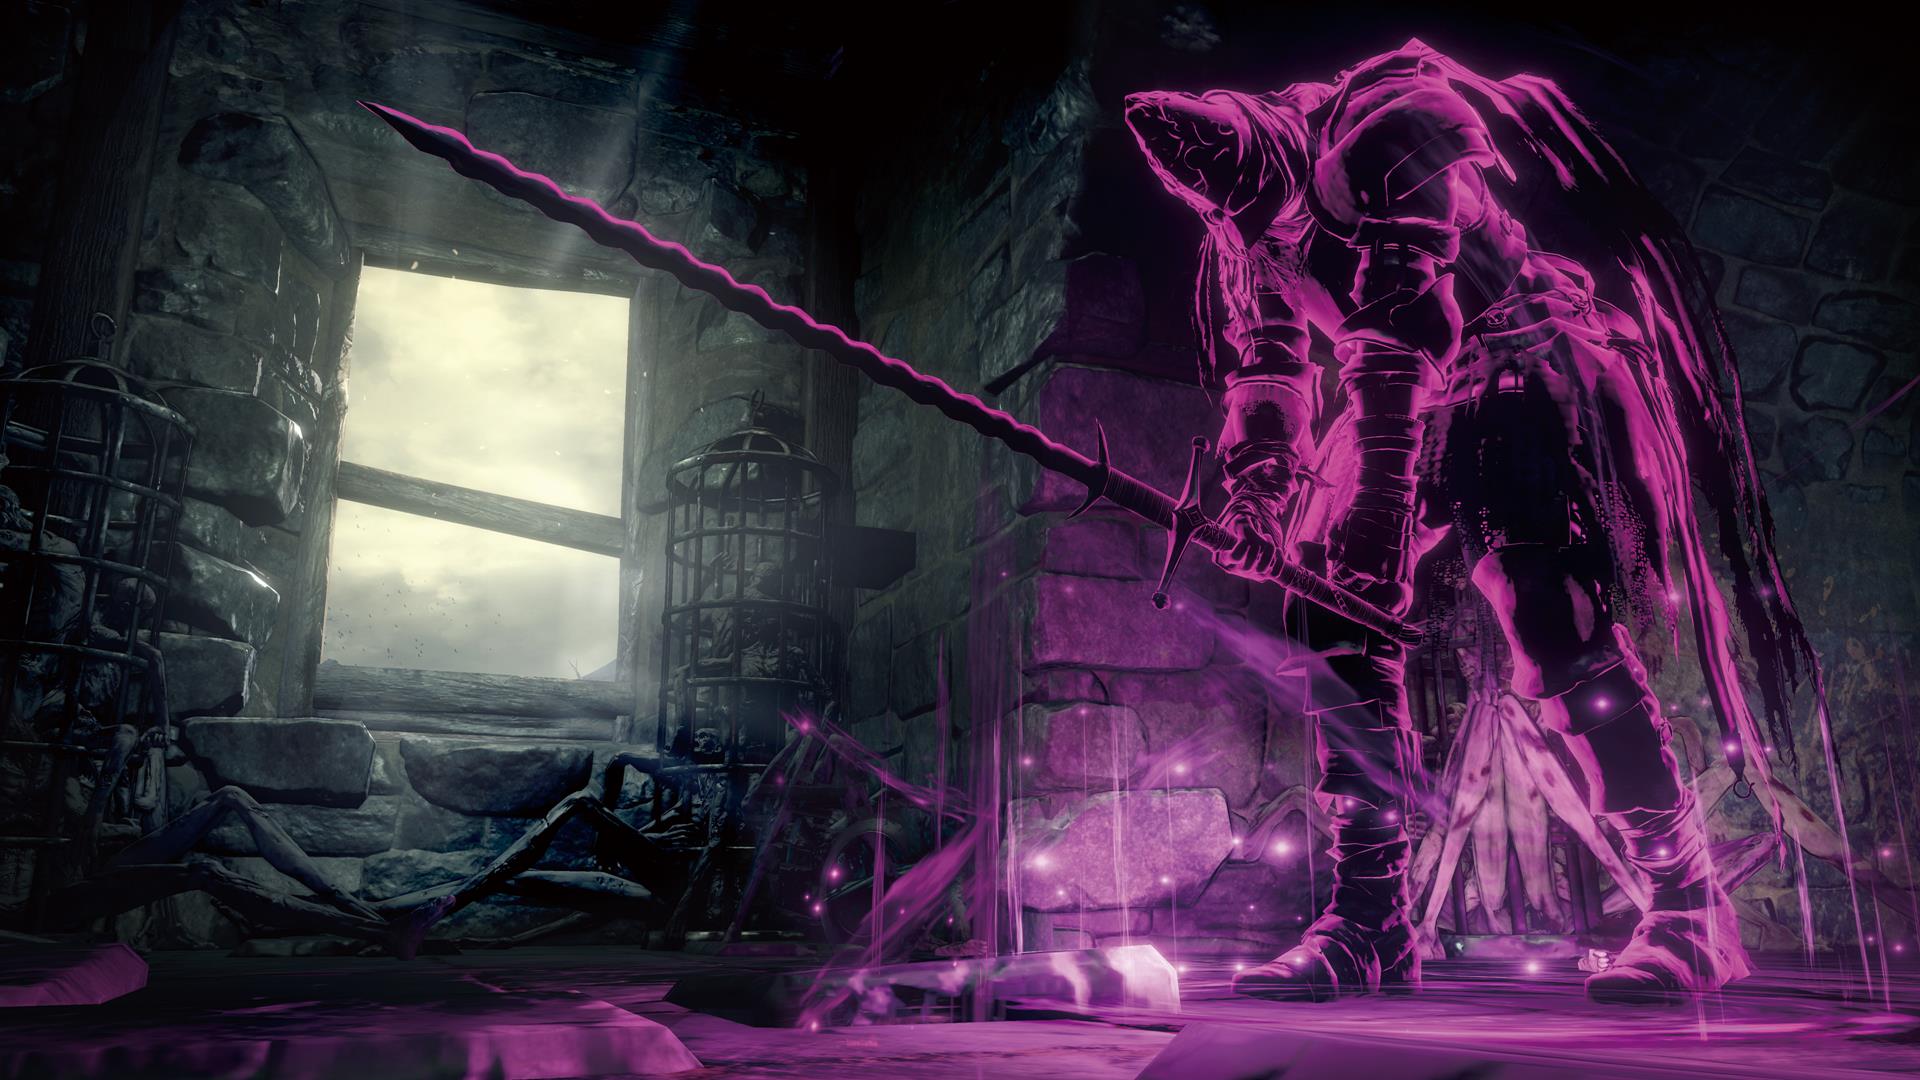
Mad Spirit Holy Knight Hodrick
Important Note: (Since this is the first NPC Phantom invasion), beating the Curse-rotted Greatwood boss before this invasion will make it no longer possible to fight Holy Knight Hodrick here. This mechanic persists for most invading NPC Phantoms, so if you are trying to fight them all be careful not to kill the bosses of the areas they are in beforehand.
Continue through the house and down the path, you can turn right towards the cliff to find a Crystal Lizard and if you follow the path back you will find the bonfire you unlocked via the sewers earlier, near the wooden bridge. Head back to where you came and through a grassy patch with a crumbling stone overpass, if you are Enkindled (Ember), you will trigger an invasion by the mad dark spirit Holy Knight Hodrick (a member of the Mound-Makers). He is a challenging fighter who often two hands his sword and is adept at parrying your attacks. Take your time with Hodrick. He can heal himself, cast miracles and pyromancy, and he uses weapon arts to break your guard. Getting behind him is the best tactic to score hits. Alternatively, dodge his attacks and hit him when his stamina is recharging, or wait until he casts a spell and uses that window to score a combo on him. Killing him earns a Vertebra Shackle, which can be used as an offering to increase your rank in the Mound-Makers Covenant. Go then back through the house where you killed the caster before and go left onto the roof jump down there to get a Rusted Coin.
Spears and Ashes
If you continue ahead you will encounter a large hollow holding a saw. Proceed onward to a path along a ravine where a giant on top of a tower will fire massive spears at you. There are several corpses here where you can carefully loot Fading Soul 1x, Ember 1x, Young White Branch 2x, Large Soul of a Deserted Corpse 1x. If you go to the left and up, through the graveyard you will find a corpse with Mortician's Ashes that you can give to the Shrine Handmaid enabling your purchase of the key to unlock the door in the sewers that leads to Irina. Laying along with a hut where there is a corpse you can loot for the Cleric Set and the Blue Wooden Shield but beware of the gremlin hollow that drops down to attack you here. Go back down to the path, and leap across the small gap to find a corpse with an Undead Bone Shard 1x. Proceed carefully past the flung javelins and enter the building in front of you where hollows await. Proceed up the stairs turn around and jump over to the ledge to obtain the Great Scythe.
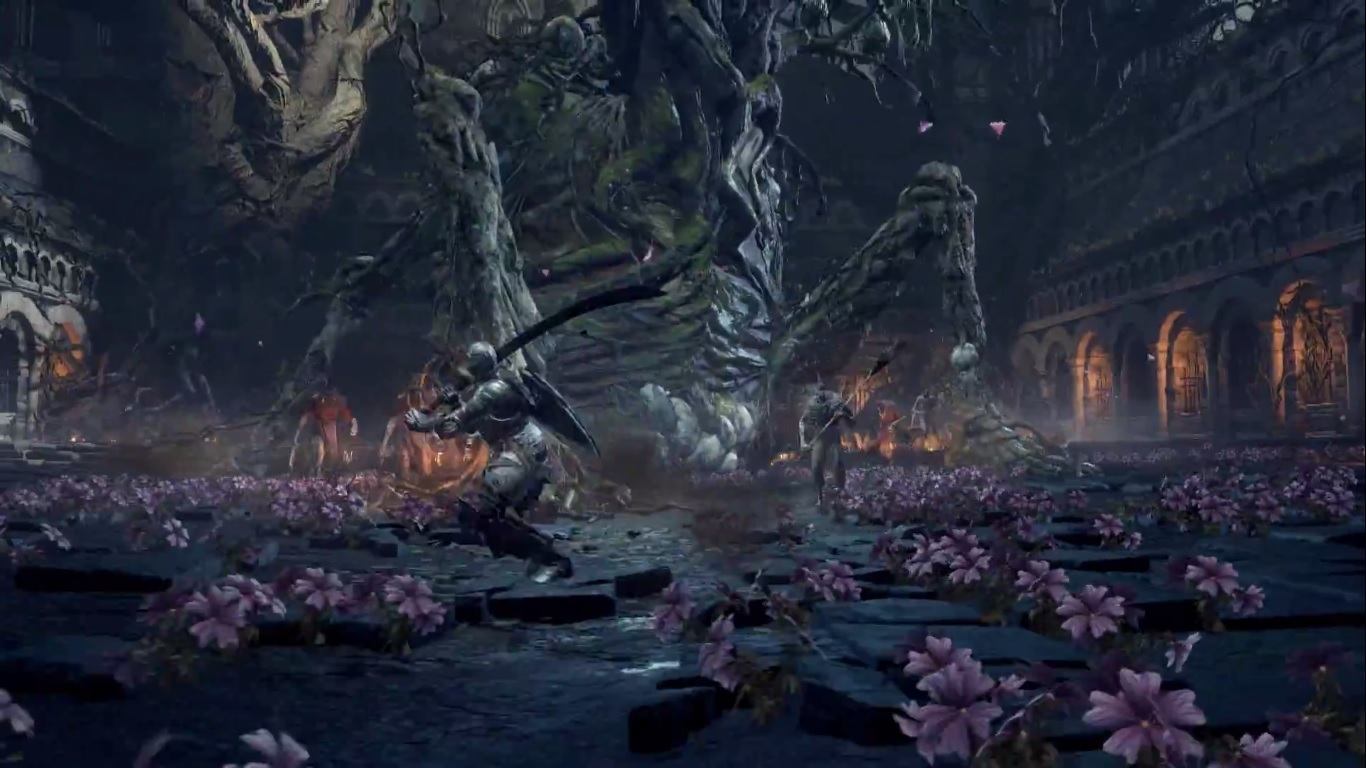
Proceeding to the Boss
Enter the next building along the path where you will begin to notice flowers growing from the cracks in the stones. To your right, you may open the double doors you were unable to open from the other side to unlock a shortcut. To the left is a courtyard. Proceed onwards to an area marked by lavender flowers growing from between the stones and you come to a courtyard full of hollows gesticulating in prayer to a large gnarled tree. Approach the hollows which will animate the tree and trigger the boss fight with the Curse-Rotted Greatwood. Destroying the sack between his legs will take off a large portion of his health and will trigger the boss to destroy the ground bringing you both to a lower level. Destroy him to obtain the Soul of the Rotted Greatwood and the Transposing Kiln which you can give to Ludleth of Courland to enable Soul Transposition.
In this lower level, you will find an altar where you can offer the Vertebra Shackle to increase your rank in the Mound-Maker Covenant. The pit of hollows bonfire is nearby and a corpse where you can find a Homeward Bone 1x as well as a Wargod Wooden Shield. Leave via the bonfire.
When you're ready to proceed, return to the lift where you met Siegward. Take the lower lift to a Knight of The Boreal Valley, kill him for an Irithyll Straight Sword, and open the door to a bonfire and the Road of Sacrifices.
Undead Settlement Maps


Undead Settlement Video Playthrough
Walkthrough Videos:
- Undead Settlement Walkthrough Part 1, Curse Rotted Greatwood (Several attempts), Part 2, Part 3 (Fire demon, Cloranthy Ring, Boreal Knight)
Speed Run Walkthrough
A fast walkthrough of how to get to the end of the level the fastest, picking up only essential items follows:The Undead Settlement is an optional area with a boss that can be bypassed if the player so wishes. It is advisable to recruit the NPCs in the area and defeat the boss, however, as it's the only way to enable Soul Transposition and gain access to special weapons.
There are 5 NPCs worth mentioning in this map: Yoel of Londor unlocks the Hollowing mechanic and plays a very important role in the game's story, it's impossible to get one of the endings without his help. Cornyx of the Great Swamp teaches you Pyromancy, Siegward of Catarina's story goes a long way to a Lord of Cinder, Irina tells Miracles & Eygon will assist you with some bosses if you rescue Irina.
You should also consider befriending the Giant if it's your first time. Because he will help you get Mortician's Ashes as well as other items in the next few maps. (Or killing him, because he'll make your life harder while trying to get those items otherwise.)
As soon as you land on the Foot of the High Wall you will find a bonfire, light it and move down the long staircase. At the bottom, you will see a portcullis that will rise and 3 hounds will come out and attack both you and the non-hostile hollows, kill them then turn around and with the portcullis at your back, proceed down the stone roadway (Be wary of dogs on your left) towards the group of pilgrims at the end of the broken ground. On the right one of them is still alive, and you can overhear his pleas for death. He is Yoel of Londor, the first NPC you need.
Back toward the closed portcullis, on your left, you will find a lever to open it. Run forward and light the Undead Settlement Bonfire. Move ahead and in a small doorway, 2 hallows will attack, at the bottom of the first ramp another hallow will drop and attack once you take few steps from the ramp. Ahead of the ramp is a small balcony with a hanged corpse that you can hit to drop down, and later loot it for Loretta's Bone. Back inside the building continue going down, fighting through three more Thralls.
Once outside, you'll find a huge bonfire with an Evangelist praying in the middle. Behind her is an Estus Shard. Skip if you wish to. Pick up Loretta's Bone on your left and cross the wooden bridge behind the tree to your right.
At the end of the bridge, you will meet two Hollows, behind them two more Hollows are sleeping in the stalls to the right. Ahead one Thrall wielding a greatsword will drop on you.
Open the gate and on your left, you will see a stone bridge, you have to run across the bridge fast and jump onto the ledge to the right side at the end before the Hollows start throwing bombs on you. two Hollows will be patrolling the Ledge so be ready to Jump Attack while falling if one of them was directly below you.
Enter the small building ahead and light the Cliff Underside Bonfire. Exit through the other side of the building and to your right you can climb the building turn around and continue climbing, kill the three Hollows that were throwing bombs on you, and continue walking on the wooden ramps to find your second npc, Cornyx of the Great Swamp.
Back on the broken thatch roof you climbed, you can drop down on the tree in the right corner and then to the ground, another tree with 4 broken cages will be here, jump to the right of the tree and attack the undead dog below. Turn right and enter through the gateway under the mountain. Go down the ladder and run to the end of the sewers, fighting 3 small rats and then a bigger rat with 2 small ones. Climb the ladder on your right at the end. Across the wooden bridge, you can light the Dilapidated Bridge Bonfire. Around this area you will get invaded by the NPC Holy Knight Hodrick if you're Embered.
Back through the sewers and to the other side again, becareful of the dog at the top of the ladder if you resetted the area. Next, dash through the stone bridge ignoring the large hollows and turn left. At the end, you will find a gate you can open and enter. Sometimes one of the large fiends will chase you here, turn around and kill him after opening the gate. Or ignore him and continue to the other side of the elevator and he should stop. The lift will be coming up and you'll meet the 3rd NPC, Siegward of Catarina.
Go downwards with the lift and kill the Boreal Knight. Behind him is a gate that leads to Road of Sacrifices, Light the bonfire there, and turn around to go back up the lift. Once you're up where Siegward used to be standing, step on the button of the Lift and leave it quickly, wait a bit and another lift going up will descend. Ride it to the top of the tower to befriend or kill the Giant, then while going back down the Lift, in the middle of the ride, you'll see a wooden platform and hear Siegward's "HMMM" you should drop down on the wooden platform then. And talk to Siegward.
You will encounter a Fire Demon here. After killing him talk to Siegward a few times to learn emotes.
There are few items after the demon fight, if you decide to skip them use a homeward bone. And teleport to Dilapidated Bridge Bonfire.
From there run toward the roaming large hollow and through the big archway behind him. If you befriended the Giant archer he will be a great help here, a lot of enemies will be roaming and you only have to wait for the giant to kill them.
You can turn left after the white tree, going upwards, and then stick to the gravestones on the left side and move foward. You should find Mortician's Ashes.
Turn around and enter the stone building where the giant was shooting, a fork wielding Hollow will try to ambush you right at the door. Behind him is a sickle wielding Hollow, dispatch them and go upstairs and run straight until you find yourself at a crossroads, on your right you can open the gate for a shortcut to the boss room, and on your left is the boss of the area, Curse-Rotted Greatwood.
After killing it teleport to the Firelink Shrine and give the handmaiden the ashes you found and she will start selling the Grave Key.
Buy it and teleport back to the Dilapidated Bridge Bonfire, then onto the sewers after killing the big rat, further into the sewers, on your right as you engage the 3 smaller rats, you will find the door that requires the key.
You'll be fighting a lot of skeletons, and then ambushed by rats. But at the other end of this entrance, you should find the 4th&5th NPCs, Irina of Carim, after rescuing her talk to Eygon of Carim outside.
To your left is the tower where you met Siegward, enter it take the lift downwards, and proceed to Road of Sacrifices. Undead Settlement Speedrun Guide
Trivia:
- Trivia, player notes, fan art and such go here.
- It is heavily implied that, when the Undead grew in numbers, the denzins of the Undead Settlement dissected them and sent their remains to the Cathedral of the Deep, where they would be devoured by Aldrich and his followers.
- You can directly jump into the pit of hollows.
DS3 is my final game I'm playing in the entire Soulsborne series (besides Bloodborne and Demon's Souls RIP), and I was expecting to fall in love with it instantly based on the hype I've heard and my enjoyment of 1 and 2, but I'm struggling with this area already. Not that it's super difficult in terms of the enemies, it's just massive, and there are essentially no distinguishing landmarks to know where you're going, everything looks the exact same. I know I need to put more time into it to learn the map, but my point is that I don't really want to ... I run around for 20 minutes looking for something, killing everything along the way, run out of Estus, can't find way back to bonfire, die. Then I can't find my way back to bloodstain. I'm trying to do this without having my eyes glued to a guide, but I literally feel like an Alzheimer's patient in this maze

- Anonymous
- Anonymous
Ok I feel like I'm going insane, does anyone else hear the weird static noise around the tower where you meet siegward? It might be wind or whispers, but you can clearly hear it at the bottom of the tower going into the road of sacrifices. It's probably just weird ambient noise being too loud in some areas, but it's all I can think about on repeat playthroughs lmao
- Anonymous
This is one of the most complex and intricately designed areas in the series, but I always just pick up some items and rush through the area on every playthrough
- Anonymous
every time i get to this area i try to kill the dogs as fast as possible and see how many of the passive hollows i can save at the gate. my record is 5/7
- Anonymous
- Anonymous
You can save Irina in NG+, if you have Cat Ring (damage from fall is lowered), by jumping from the bridge then go to her place. No need for the key to open the door.
- Anonymous
Not sure if anyone else has found this but there's a hanging corpse with an item on the big tree where the evangelist is praying, but it's just a few kukris
- Anonymous
- Anonymous
if the townsfolk were more friendly I would visit more often
- Anonymous
I found a sort of npc that isn't on this guide, past the bridge by the big bonfire surrounded by enemies, down the path to the right of the building, behind the building with the ladder, there's a cage full of undead that isn't hostile and you can talk to them. Said something about "another nana being taken away" and sings to themselves about that and having to carry a cage. They only have that one dialogue, and they don't drop anything when killed. I wanted to see if maybe they had more dialogue later but it doesn't look like they're on this guide
- Anonymous
AKA the one map Assassins skip 90% of to rush for the dreamchaser ashes
- Anonymous
right after the elevator with the knight of catarina theres a doglike monster, i have alot of trouble fighting him,any tips? or at least tell me what is that.
- Anonymous
there is two bosses in the undead settlement : holy knight hodrick and the outrider knight
- Anonymous
This walkthrough needs serious revisions. This page in particular, but in the previous locations as well. Dunno if the next pages will also be tis messy, but up to now it's schizophrenic; makes you go to places, explaining things you can't access yet, while skipping things you can access immediately and easily, only to make you return there later, doing an unnecessary extra trip; doesn't explain many things clearly; gives no warning like "don't go there because reasons, we'll get there later", then proceeds to explain stuff you can't do till you get to that later part.
Also missing items (e.g. at the cgraveyard of falling spears, there are many more items than the listed ones, dunno if this is because I'm playing the latest version and more stuff was added, but they are missing here), and more.
- Anonymous
Peasant hollow dropped a fire gem in one of my playthroughs
- Anonymous
If anyone noticed, across from Yoel NPC saint - at the bottom of the broken bridge across the way by the dragon's remains, there's 2 loot souls. Anyone know how to reach this area? If so, share a video on it? Can't find any information I want.
- Anonymous
at the elevator near siegward, when going down (toward the irithil opponent) , then sending the elevator up, we can see a bottom in the hole.
sending a prism make the 'safe' noise. Is it actually survivable ? Is there anything of interrest down there ? I dont see any mention in the guide, so probably not
I will try in a while if there is no answer.
- Anonymous
- Anonymous
That is the most pathetic excuse for a guide I have ever seen.
What a boring area. Every playthrough I try to speed through the area, but this area pulls off a Dark Souls 2 and spams enemies, mainly workers and dogs.
- Anonymous
"when you hear him, jump off the lift" yeah thanks I died troll
- Anonymous
- Anonymous
- Anonymous
Has anyone ever noticed, if you loiter in the pit of hollows, you'll hear whispering voices.
How do I edit? In the plaza (where the estus shard and lorettas bone are) there is a body hanging in the tree with 9 kukri (after 400 hours of play I just learned this).
- Anonymous
Weird bit of trivia. If you haven't triggered the boss fight where a fog of war will block the area you can shoot the worshiping hollows from behind the entrance with an arrow. This will aggro the one you hit and they try to come to you but can't go past the threshold. They can then be killed by bow and arrow to "safely" acquire souls. Although you may spend more in arrows than you earn just in getting the aim right. LOL I literally had no reason to try this and find it very funny that it works.
- Anonymous
Hodrick won't invade on the way to the white tree if you've already gone for a cage ride and talked to him in the covenant area.
- Anonymous
Covetous Silver Serpent Ring +2 (On second newgame) spawns on the roof under Flynn's Ring.
- Anonymous
Just today (05.05.2018) I found out you can get the silver serpent ring (for boosted souls) on one of the roofs where you fight the demon together with Siegward. I found it on the roof of a house above where you find the ember before the boss gate (if you go from underside cliff bonfire). I was on my second NG+ and it spawned as +2 ring.
- Anonymous
- Anonymous
Really? Following this perfectly up until it says "On the left, a locked door can be opened by purchasing the Grave Key from the Shrine Handmaid." But I don't have the grave key because you need the morticians ashes item from further ahead of this area to unlock the grave key in the shrine maidens shop. I mean come on how are you not going to tell people that part when they're following this walkthrough step by step.
- Anonymous
What's the building just below the bonfire on the left? On the right to the distance is the cathedral I believe but what's the building in the far left???
- Anonymous
This wiki needs better moderation. These kind of novels should not be allowed.
- Anonymous
Undead Bone Shard is listed under "Consumables" instead of "Upgrade materials" along the sidebar
- Anonymous
The first map lists the Partizan in two different places; the treasure near Cornyx is actually a Hand Axe.
- Anonymous
Today I fought the Boss. Special thing about it is that I couldnt break his eggs or what it is. And also the second stage was not available. I killed him above and not in the pit of hollows.
- Anonymous
I found one more titanite shard than the ones mentioned above.
- Anonymous
It's 6 titanite Shards, not 4.
1) On the porch behind the burning tree
2) On the balcony with the Evangelist
3) On a cliff near that balcony
4) On the end of the cliff near the Cliff Underside bonfire
5+6) In the area outside from the sewers
- Anonymous
First paragraph of the walk through, should be bat wing demons, not gargles
- Anonymous
You don't have to kill the giant for the ring, he dies anyway. I came back after defeating Old Demon King in order to get Cuculus' items. I noticed the giant wasn't firing arrows at the undead anymore, I went up the tower and found him dead (I'm not quite sure how he died, but there seemed to be arrows punctured into the ground, facing his direction).
- Anonymous
- Anonymous
I've got this theory that he's talking about Greirat, not the caged hollow carrying a cage on his back.another nanas dissapeared - Loretta died."so her grandsons locked in a cage" - Greirats locked in a cell when the player finds him.Greirat's really upset by her death, but not really surprised. He says "so she's 'already' dead".He even tried to protect her by giving her a defensive ring that triggers when its wearer has low health.
- Anonymous
- Anonymous
It is found in the spears and ashes section. Behind the well. Next to the cleric set. NG+Marnesapper21
- Anonymous
you can also add as trivia that, cut-content refer to the Undead Settlement as the Undead Commune.
- Anonymous
I like low level pvp. There's a bit more room for mistakes, and is great for learning to git gud. However, the gank is real here. I can't tell you how many times I've tried invading (because nobody will summon a red phantom for a duel so early) and I enter a world with 3-4 characters with end-game gear popping the dried fingers to pull in more invaders. Maybe it's because I like to pvp at level 30. Who knows. The community can be quite a cancer sometimes. My point is: don't try invading the undead settlement unless you're ready to be on the wrong end of endless ganks.
- Anonymous
- Anonymous
- Anonymous
It's not mentioned on here, but you can get some Kukri from the Tree the villagers are praying too. There is a corpse you can shoot down that has Kukri on it.
- Anonymous
Someone is throwing giant spears at me at the begining of the undead settlement , how do i dodge those spears guys ? Or what am i supposed to do ??
- Anonymous
The lorem impsum had me laughing so hard. Been a while since I saw it used xD
- Anonymous
Little trick you can use to get pass the stone bridge to get to the church. Kill the fire bomb throwers then plunge attack the big guy. You'll see two hollows by a cliffside and the three big guys and pitchfork guy. Shoot the closest big guy with and arrow from the cliffside with the two hollows and he'll charge the bridgr then turn around and fall off.
- Anonymous
- Anonymous
It should be included on here that the Poisonbite Ring +1 can be found here in NG+. It can be found in the area with the birch tree that the giant shoots arrows at.
- Anonymous
You must first find Mortician's ashes before you purchase the Grave Key to open the door to Velka and Irina of Carim but this is located in the Spear graveyard which comes much later in the walkthrough. I Suggest after you pick up the Fire clutch ring, you drop back down to the 'Cliff Underside' bonfire and TP back the the 'Undead settlement' bonfire, where you can start the "Warriors of sunlight portion of the guide", following that down to Hodrick and through the spear graveyard to open the Boss fight's door. Then you can backtrack through the sewers, open the shortcut to the previous bonfire and open the door to Irina and Velka all in one loop of the area.
- Anonymous
When you fight that fire demon with Siegward, you can extinguish the big bonfire he walks around by rolling around it. Anybody know if doing so affects the demon fight - makes him weaker perhaps? I noticed it on my first playthrough and thought maybe that's why Siegward yells "you should have waited!", but just tried it and didn't notice if anything specific happened and Siegward still *****ed about my impatience.
- Anonymous
A good fallback if you are overwhelmed by workers is to make contact with them when you roll dodge, it will interrupt and put them off balance.
- Anonymous
I am in the first play through and I was greeted bt y 2 evangelists on the top floor Confirmed for NG
- Anonymous
So I beat the game and came back to check on things, found Morne's Greathammer and shield where Irina used to be (after making her a firekeeper), and went up to check on my giant friend becaeuse I heard the bowstring but no arrow came down, and he was dead o.o No rhyme or reason to it.
- Anonymous
I forgot to lit the bone fire under the boss, cursed rotted greatwood, when the floor breaks, and I used the homeward bone, I need to get to it somehow, THE CAGE guys wont let me now and he is hostile to me EVEN tho I am at the mound maker cov.PLEASE HELP
- Anonymous
There is a great sythe located in the house entered as you cross the dilapidated bridge. Go up the stairs and turn around
- Anonymous
Inside the house that is in the zone where the giant shoots greatarrows yo you and the undead (where the white birch tree is), the is a balcony in the opposite side as you walk up the stairs. If you dash and just towards the ledge and enter the balcony, there is a copse holding the great scythe weapon.Sorry if my writing is not clear. My mother tongue is not english.
- Anonymous
Found Large Club near cliff, Red Bug Pellets in corner near two Hollow Cages, Northern Set on hanging corpse in open area, Pale Tongue on hanging body (requires ranged to access)
- Anonymous
There are two corpses hanging from a building here. One has the Northern Set, the other a Pale Tongue
- Anonymous
You can kill it with a bow. Shoot one arrow at a time and then run back to the lift stairs. It's a peek-a-boo battle, took me about 30 (standard) arrows.It kept killing me, so I tried alternative ways lol
- Anonymous
- Anonymous
- Anonymous
If you happen to want to take a picture to the Onion bro, and you have the shorcut with Ctr+1, and Ctr also is an attack, and you Ctr Twice, he attacks you, and you have to kill him... and ***** me rigth? now how do i kill the fire demon ffs
- Anonymous
I made an edit at the Fire Demon section but this is my first time submitting an edit and I didn't know how to add a hyperlink to a page. The information itself should be clear enough though.
- Anonymous
The chest piece, gloves and pants are in the bottom of the tower after the fire demon encounter. On the roof tops behind the Flynn ring is a drop off where you can get the cloranthy ring as well as the armor.
- Anonymous
I didn't know they remade Hemwick Charnel Lane in Dark souls.
- Anonymous
From the top of the house of the area where you find the Flynn ring, there is a nearby tower which you can jump to to find the Chloranthy Ring and Mirrah Set at the bottom of the tower. I believe there is something else there but I don't remember.
Have anyone noticed that there is one of those big guys who has a cage on his back insted of "wooden doors". He wont attack you and I think you can interact with the cage because there is option examine when You` re close to the cage. Maybe he will take You somewhere like a crow or coffin. . I don`t have a game yet so i wanted to ask if its possible to test.
- Anonymous
Pickup the estus shard located right after the 2nd bonfire. Walk down the stairs and you will see a burning tree with alot of enemies there praying and 1 of those laughing witches. There will be a glowing item located at the base of the tree.


Ah yes Section 8
3
+11
-1