This is my main PVP/PVE build built around the Dancer’s Enchanted Swords. These weapons are not only stylish and fun to use, but they’re also absolutely viable in both PVP and PVE.
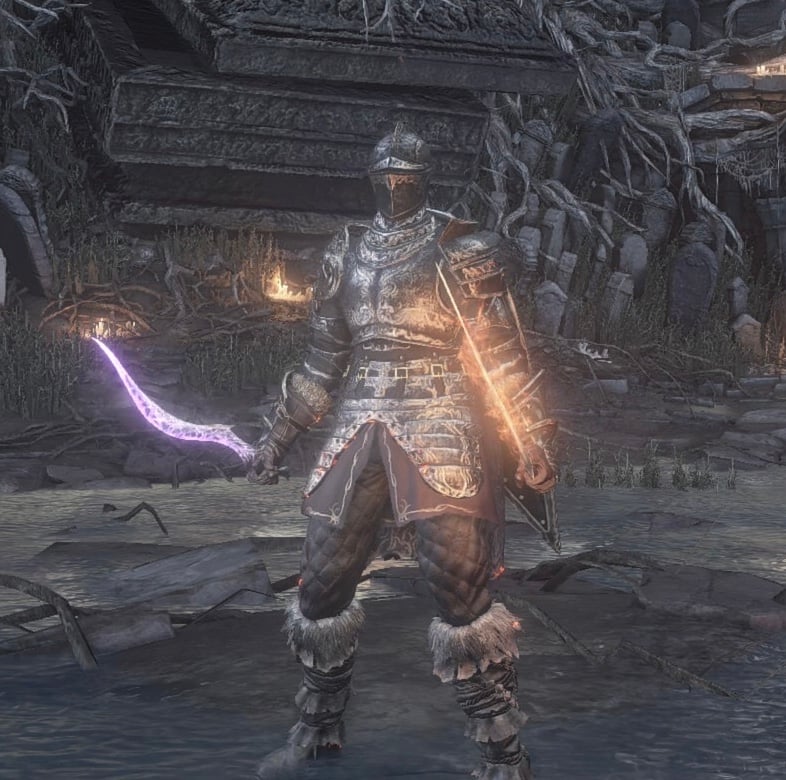
This is a player-created build for Dark Souls 3.
- Build Level: 120
- Build Focus: PVP/PVE
- Build Main Stat: STR/DEX
- Link to Dark Souls 3 Calculator:
- https://soulsplanner.com/darksouls3/148755
- Build video: (will edit in later)
Build Equipment
Right hand:
| Dancer's Enchanted Swords |
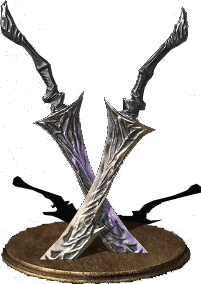 |
| Of course, the whole point of this build is to look awesome while destroying opponents with these glorious spin2win swords. |
Left hand:
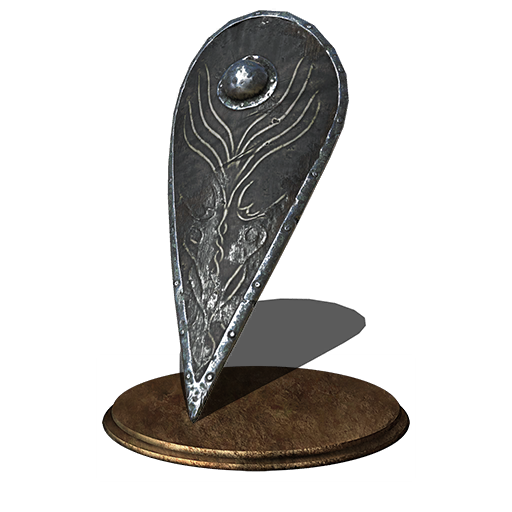
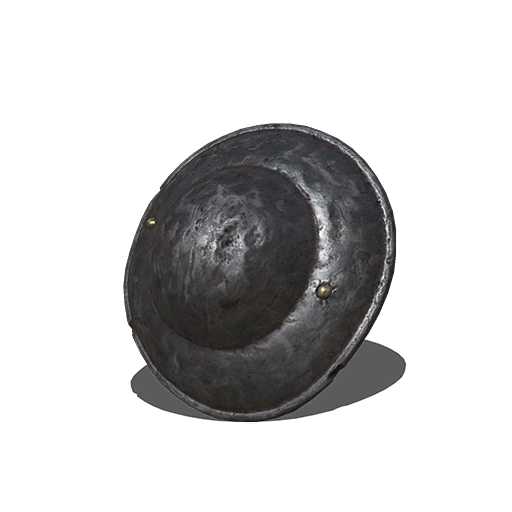
| Ethereal Oak Shield | Buckler |
 |
 |
| You can use any weapon art shield and it will fulfill the same role. Personally I chose the Ethereal Oak Shield because of the 100% physical absorption and slight regen for a relatively decent weight cost. |
I keep this on my loadout in case I come up against an R1 spammer, which the Dancer’s Enchanted Swords struggle to deal with. Otherwise, you should always keep the WA shield equipped instead. |
Equipment:
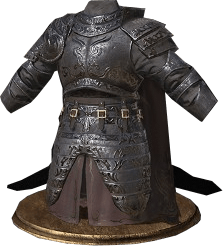
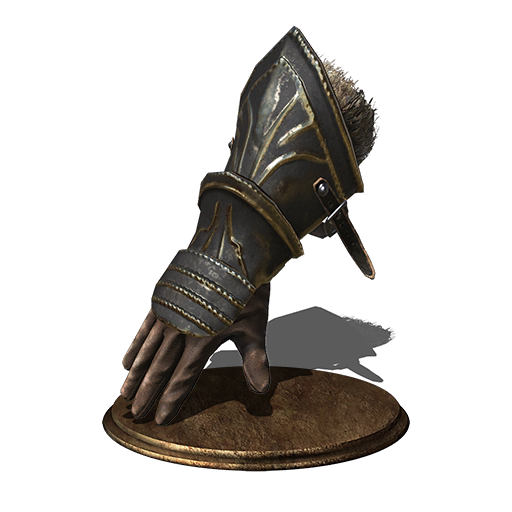
| Head: Drakeblood Helm | Chest: Drakeblood Armor | Hands: Millwood Knight Gauntlets | Legs: Northern Trousers |
 |
 |
 |
 |
Rings:
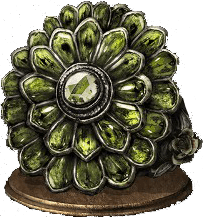
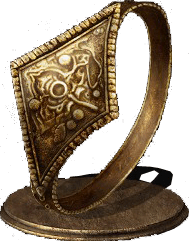
| Chloranthy Ring +3 | Ring of Favor +3 | Pontiff's Right Eye | Prisoner's Chain |
 |
 |
 |
 |
| Raises stamina recovery speed by 10 points per second. | Increases max HP by 6%, max stamina by 11.5%, and equip load by 8%. |
Boosts attack rating, as long as attacking persists. Initial boost is 3%, then 5%, and maxes out at 10%. (For the Dancer’s swords, every damage boost is triggered after 3 hits, meaning that you can easily achieve a 5% boost with just one L1/R1 -> L2 -> R2 true combo.) |
Adds 5 levels to vigor, endurance, and vitality, at the cost of decreased absorption. |
Other Options
My armor setup was chosen for fashion souls more than for armor optimization. If you value better absorption/poise over appearance, you can replace the Drakeblood-themed armor with parts of other sets (such as Lapp’s set) instead. You could also elect to use a more glass-cannon build, and move some or all of your vitality points into intelligence instead. There are many things you could do regarding equipment, it ultimately comes down to personal preference.
You could use any of the weapon art shields, not just the Ethereal Oak, to achieve the same effect. If you wish, you could use a parrying shield with more stability, or you could use no parrying shield at all. Feel free to play around with the loadout to find what you’re most comfortable with. Use of a lighter shield(s) would allow you to save points in vitality and put them into another stat, such as intelligence for increased damage.
The Chloranthy +3 and Ring of Favor +3 rings are mandatory. Prisoner’s Chain is necessary for meeting the requisite vitality for this build and for keeping your stamina at 150 (which I don’t recommend going lower than), unless you’re planning on investing more points into endurance yourself. Pontiff’s Right Eye fits very well with these swords due to their high-hit combos. However, if there is another ring that would fit better into your preferred build, either Prisoner’s Chain or Pontiff’s Right Eye are the most replaceable rings.
The Old Wolf Curved Sword increases your attack and restores your health, provided attacking persists. This can stack with both the Pontiff’s Right Eye and Carthus Beacon. The effects of the OWCS will still stack as long as it is equipped either in your hand or on your back. One drawback of this is that it prevents you from fully utilizing the Dancer’s Swords one-handed moveset by not allowing you to true combo R1 or R2 into the weapon art, but if you find yourself rarely using the one-handed moveset, this is worth considering. It will also require you to make some sacrifices with your armor/shields, and/or a greater investment into vitality.
Build Stats
Note: table does not include prisoner’s chain +5 increase to Vigor, Endurance, and Vitality.
| Level: 120 | Vigor: 37 | Attunement: 10 | Endurance: 25 | Vitality: 20 |
| Strength: 40 | Dexterity: 40 | Intelligence: 21 | Faith: 9 | Luck: 7 |
Stat Allocation Discussion
The Dancer’s Enchanted Swords scale with four stats: Strength, Dexterity, Faith, and Intelligence. Among these, you should prioritize getting 40/40 in strength and dexterity.
The reason has to do with how the Dancer’s Blades split damage works. The left sword is split physical/fire, and the right sword is split physical/magic. So your damage isn’t exactly split 3 ways, but rather, each of your swords is split 2 ways.
Both strength and dexterity increase the AR of physical, fire, and magic damage. Intelligence increases the AR of fire and magic damage. Faith only increases the AR of fire damage. Therefore, your points are best prioritized on a 40/40 quality build. After you reach 40/40 STR/DEX there’s a lot of opportunity for build variety, which I’ll get into soon.
I sacrificed points in endurance so I could invest more in vitality and vigor. I did this partially so I could take more hits, but mostly because I think the Drakeblood set looks awesome with the Dancer’s Blades. You could definitely optimize the armor for better absorption/poise (e.g. by using parts of Lapp’s set), though, so it ultimately comes down to personal preference. I dumped all my remaining points into intelligence to increase my AR as much as possible.
Other Options
Another viable approach would be to maximize your damage output at the cost of defense by moving some points from vigor/vitality into intelligence. This is a good alternative for those wanting to go the full cosplay route by using the Dancer’s set.
You could also invest more evenly into attunement/intelligence/faith if you want to be able to use some spells. The most notable option for this weapon is the Carthus Beacon (requires 2 attunement slots, 12 INT and 12 FTH), which increases your AR as long as attacking persists, and also stacks with the Pontiff’s Right Eye. This will significantly increase the damage of your L1/R1 -> L2 -> R2 true combo, provided you can keep up the pressure for the 30 seconds until the buff ends. Other spell options include tears of denial, homing soulmass, etc.
Build Strategy
Table of True Combos:
| Two-Handed: | One-Handed: |
| L1 -> L1 | R1 -> R1 |
| L1 -> L2 -> R2 | R1 -> L2 -> R2 |
| L1 -> R2 | R2 -> R1 |
| L1 -> running R2 | R2 -> L2 -> R2 |
| R2 -> L2 -> R2 | R2 -> running R2 |
| R2 -> running R2 | Kick -> R1 |
| Kick -> R1 | Kick -> L2 -> R2 |
| Kick -> L1 | |
| Kick -> L2 -> R2 |
In order to use the Dancer’s Enchanted Swords to their fullest potential, you have to make use of their entire moveset. I’m going to assume you’re already familiar with the moveset (if not, is a video on YouTube going over it) and instead I’m going to talk about how to use them.
PVP
These weapons are all about spacing and punishment, and function best with the reactive player.
You will be doing a lot of switching between the one-handed and two-handed movesets based on the situation.
Two-handed:
- L1 -> L2 -> R2 is your most damaging true combo, and will be your main damage output for most matchups.
- For chaotic invasions, I recommend using the L1 -> L1 true combo instead. It’s not quite as damaging, but it’s much safer than getting interrupted while you’re in the middle of the WA.
- There are virtually no circumstances in which you should lead with the WA. The opponent can roll out of your L2 if you didn’t stagger them beforehand with an L1 or a (one-handed) R1, and the WA does pathetic damage unless you get the whole combo off.
- That said, the WA CANNOT BE PARRIED. Occasionally you will fight people who don’t know this, and will keep trying to parry your WA. In these situations only would I recommend leading with L2 -> R2.
- The running L1 is great for roll catching because there is a slight delay between the first and second swings, giving you a large window of opportunity to hit the opponent. Additionally, your character keeps moving forward a couple steps after hitting L1. Just be wary of the longer recovery than a standing L1.
- While two-handed, the R1 (both standing and running) does not true combo into anything. If you’re planning to use a lot of R1s, switch to the one-handed moveset, because it opens up more opportunities for combos.
- I rarely use the normal R2 because of its short range and long wind up—it’s basically an inferior L1. However, it is good to throw in an R2 once in a while (especially against a parry-happy opponent) in order to mix up your attack timings.
- The running R2 (jump attack) should only be used against an opponent who you KNOW is trying to parry you, since it cannot be parried. Usually if I get a matchup like this, I bluff a running R1. If they parry, I use the running R2 instead.
One-handed:
- Make sure to keep a weapon art shield in your offhand!
- While one handed, R1 true combos into the WA. Presuming the opponent gets staggered from your first R1, you can safely perform R1 -> L2 -> R2.
- The running R1 is one of the most important and versatile attacks of this weapon. It can be used to close distance quickly against a passive opponent, against opponents you can’t space and punish with L1 easily, or simply to surprise your opponent by changing the pace of the battle. Just be wary of overusing this, because it can be easily parried.
- Personally, I only use the shield for blocking against small and fast weapons such as daggers.
NEVER attempt to prolong the WA for more than one strong attack (do not do L1/R1 -> L2 -> R2 -> R2 -> R2…) The WA only true combos into one R2. If you do more, the opponent will simply roll out of it after your first spin. You will end up doing far less damage, be left with less stamina to work with, and be vulnerable to a counterattack.
Matchups:
- This weapon performs best against mid and heavy weapons. I’ve found that the most difficult opponents are those with quick weapons, such as PKCS, Demon Scar, whips, daggers, etc. I’ve thrown a buckler parrying shield onto this build to use in some of these scenarios, but I have no doubt there’s a lot of variability in how you want to approach these matchups. Feel free to experiment and let me know what works for you!
PVE
- Basically the same as above, but with a few notes.
- For me, most of the time against bosses it’s L1 -> dodge -> L1 -> dodge etc…
- Use L1 -> L1 instead of L1 -> L2 -> R2 unless you’re fighting a player-like NPC. Most mobs and bosses won’t remain staggered during your WA, so it’s better to get the quick L1 -> L1 damage and roll out of there.
- Avoid the running L1 unless you’re certain you’ll be able to recover before the counterattack. Otherwise, it’s faster and safer to sprint to a boss, take your finger off of the sprint button right next to them, immediately use the normal L1, then roll out of there.
- Some boss attack timings (notably Soul of Cinder and Champion Gundyr) leave room for you to counterattack with L1 -> R1 but not L1 -> L1. Don’t try to fit in two L1s if there isn’t time for it.
Thanks for reading, and have fun with these awesome spin2win swords!
